


")
")

If you’re a blogger, then I think we can both agree — writing blog posts ain’t a joke. There’s quite a lot that goes into blogging and you’re forced to wear a bunch of hats. You’re the content creator, editor, marketer, SEO specialist, and more! But you, my friend, are a game changer. I can tell. You probably like wearing a zillion hats because, like me, you’re insane. So, since you really want to craft awesome posts that are read, loved, and shared, this post is for you.
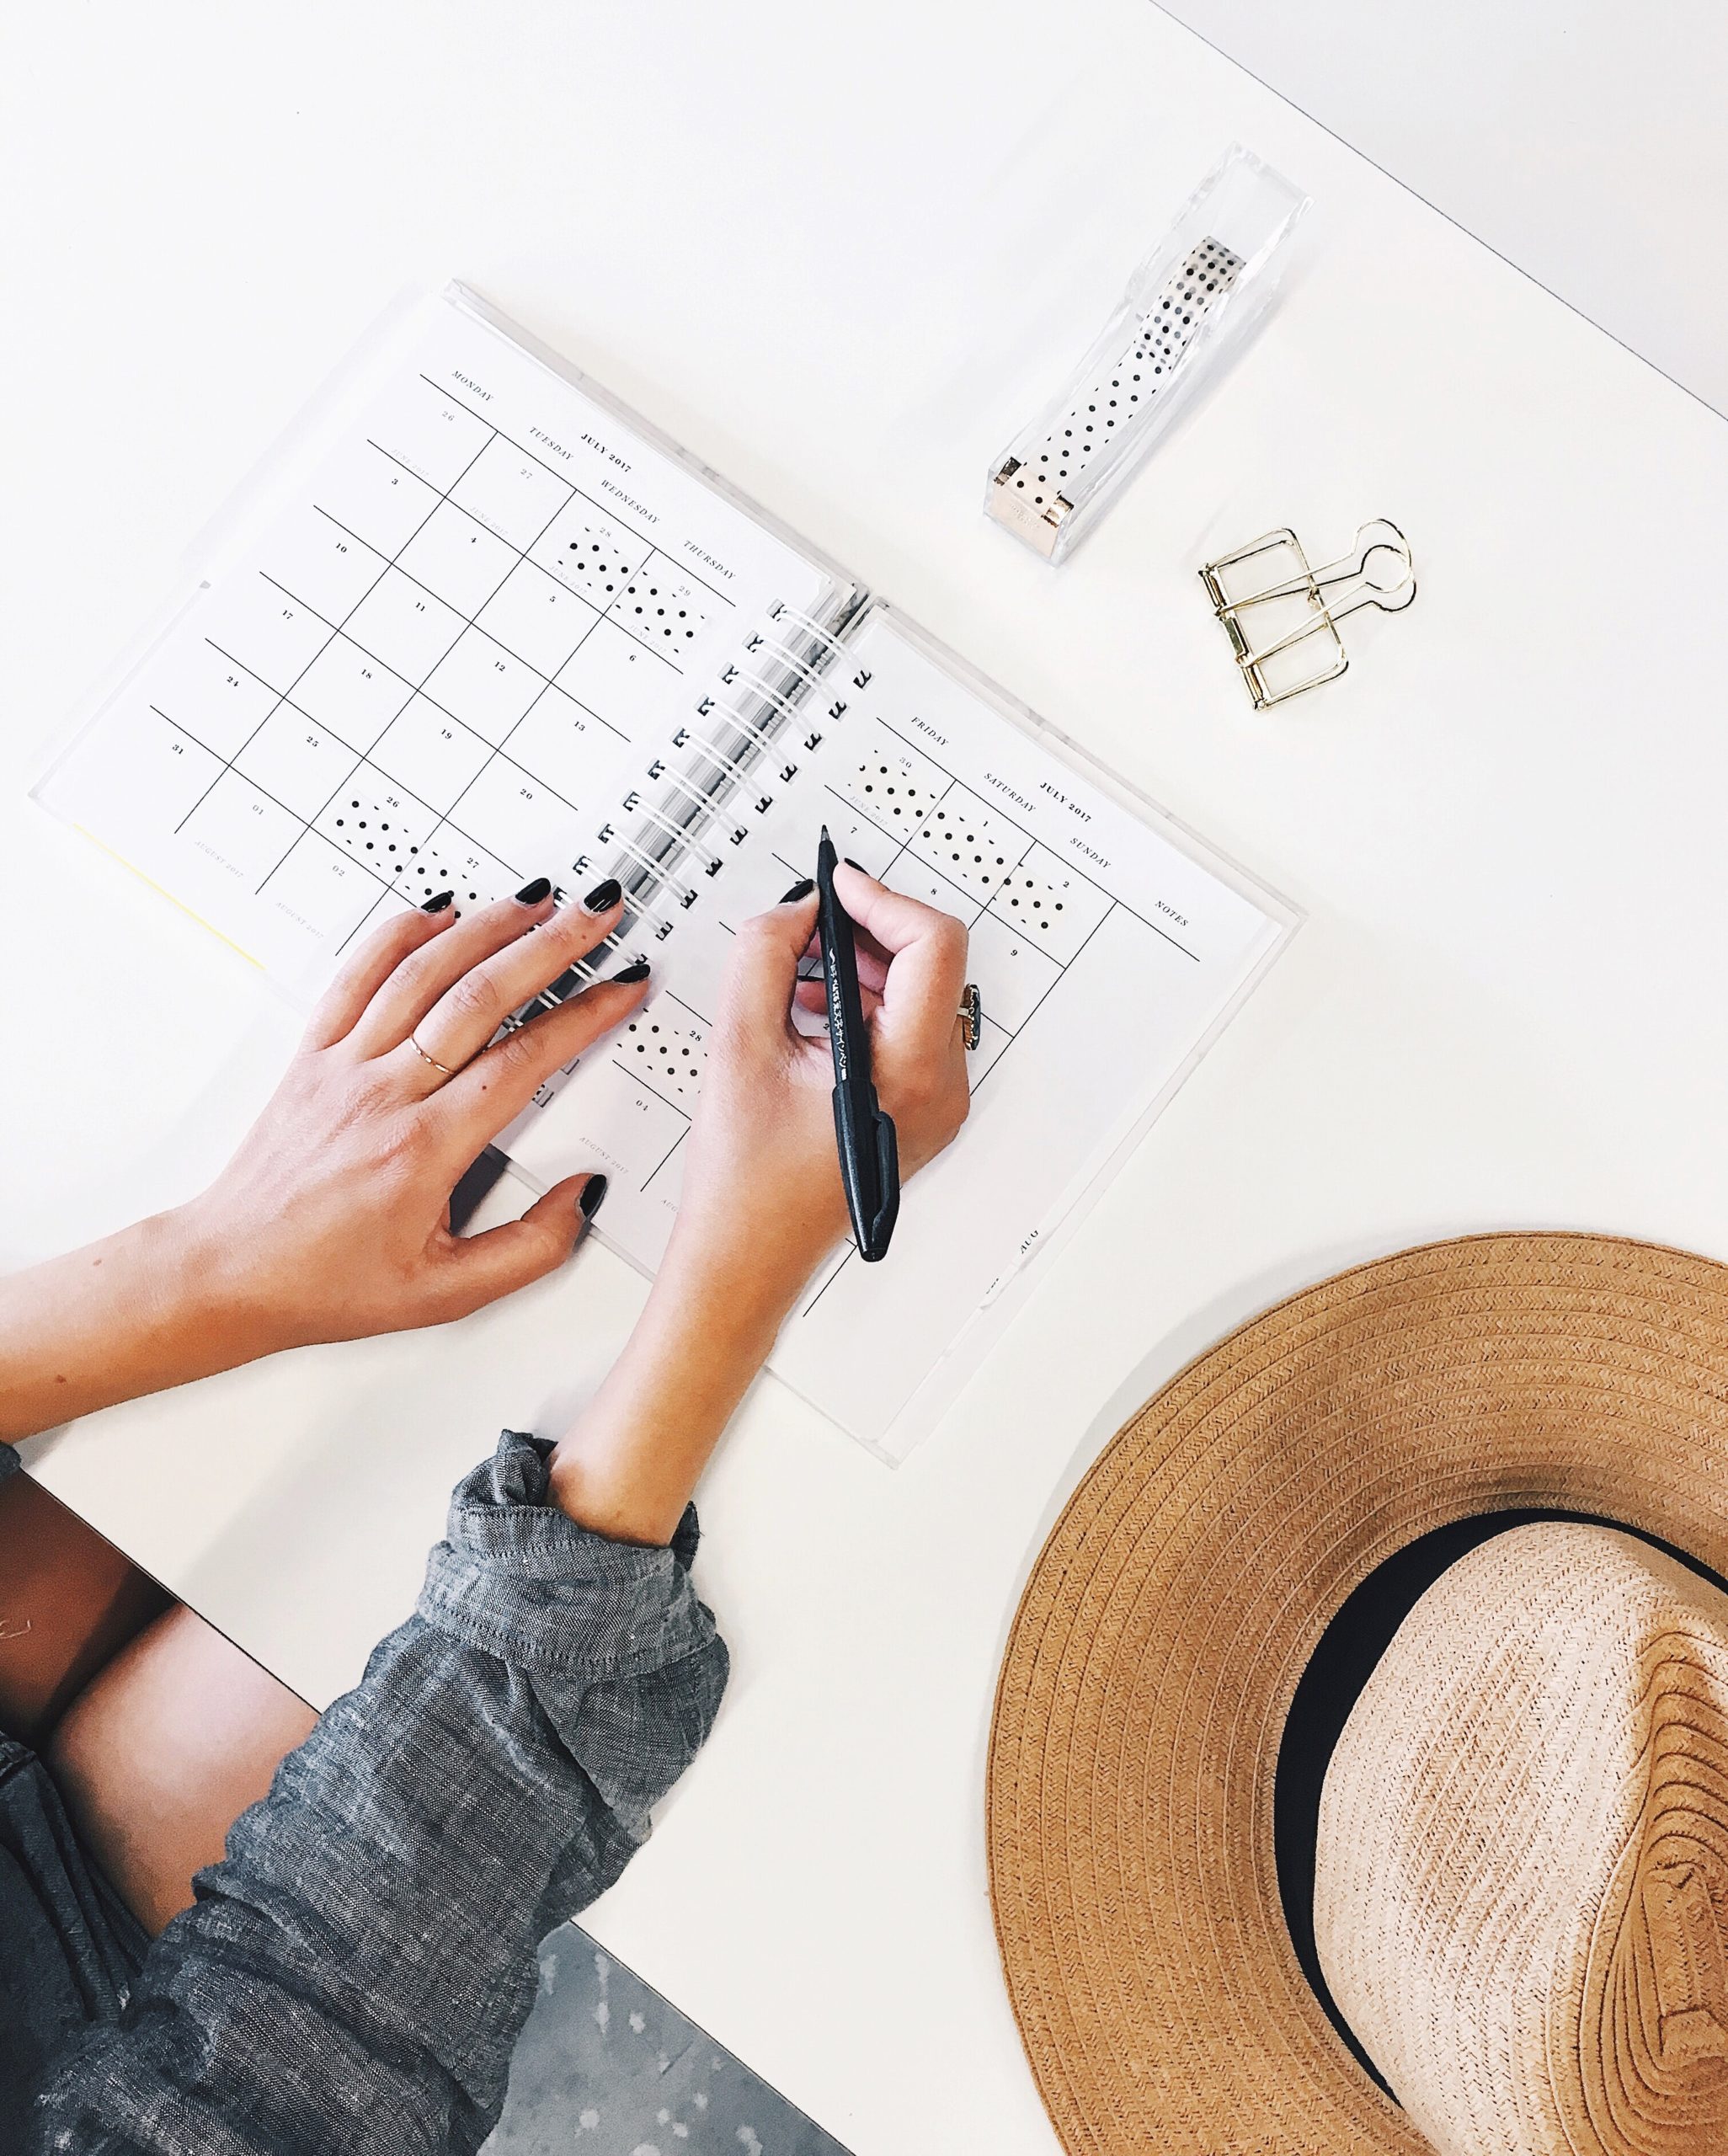
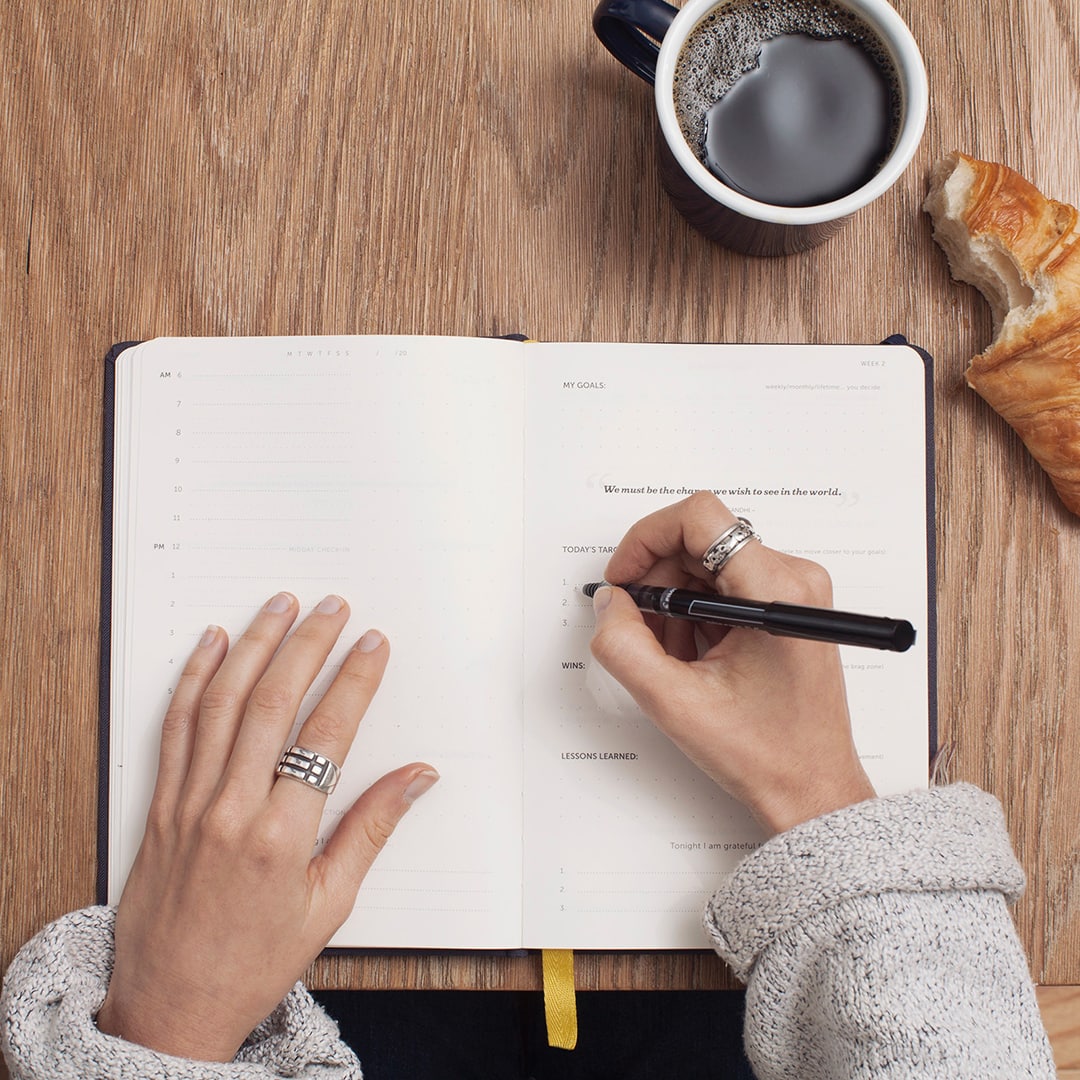
In this blog post, I’m sharing 17 things that you should do before and after you hit publish on your next post. It may sound like a lot, but many of these steps can be done fairly quickly or over time. Plus, if you’re going to put so much effort into writing your post, why not take a few extra minutes to make sure it’s at the top of its game? There’s also a free, printable checklist you can download, which lists each step so that it’s easy to refer to when you write your posts. Can I get a woop woop?
Before You Hit Publish:
1. Write an effective post title with these two characteristics:
- It includes keywords or phrases.
- It is persuasive or encourages someone to click through.
Your post title is perhaps the most important part of marketing your blog post. If your title is weak — even if your content is great — then people are less likely to click through and actually read it. By creating a persuasive and descriptive title, you’ll get more people to check it out. This post by CoSchedule has great advice for writing effective headlines.
By adding keywords, you’re also optimizing your post for search engines. The title of your post is incredibly important for its “SEO,” so you want to make sure you’re including a keyword or phrase in your headlines.
Here’s an example of a “meh” post title: “Things I’ve Learned About Blogging”
Here’s a better version: “Advice for New Bloggers Who Want to Grow Their Blog.”
The second example is better because:
- It targets a specific group (new bloggers)
- It includes keywords (“advice for new bloggers” and “grow [my] blog”), which are things that someone might search for on Google in order to find your post.
2. Divide up text into smaller sections with headings.
When I see a blog with enormous blocks of text — even if it’s something I’m interested in — I usually just say, “peace out” and find something that’s more formatted for reader sanity. Try to include no more than 5-6 lines of text in your paragraphs and divide up sections with larger headlines.
Many people will scan a post, see if it sounds useful to them, and then decide if they’ll actually read the whole thing. By using big blocks of text with no headlines, you’re making it hard for people to see what your post is actually about.
3. Deep link to past posts.
Deep linking is basically just the practice of linking to past posts in a new post. So, each time you write a post which mentions a topic you’ve written about before, you can link back to that previous post. This both gives your readers more information about your topic (helpful!), but also keeps people on your site longer (awesome!).
4. Add a question at the end to encourage discussion.
One of my favorite parts of a blog post is what happens after I hit publish: receiving comments. I love hearing other people’s perspectives and answering questions that people have asked.
By asking a question at the end of a post, it encourages people to comment. In the online world, people often need little nudges or “calls to action” to actually do something. This is a small thing that helps people — especially people who wanted to leave a comment, but who might have just been feeling lazy — to actually do it.
5. Add on-brand, SEO-ready images.
It’s important for your imagery to be “on brand.” This essentially means that it fits with your blog’s theme, personality, and audience. I recommend creating templates for your blog post images, which use the same fonts, colors, and overall design. That way, your blog post images will be more consistent (not to mention, faster to create — woo!).
Making them “SEO-ready” just means that you have changed the image name to something that includes a keyword. For example, instead of “IMG_1254.jpg,” your title could be “chocolate-cake.jpg.” Can you tell I’m hungry? 😉
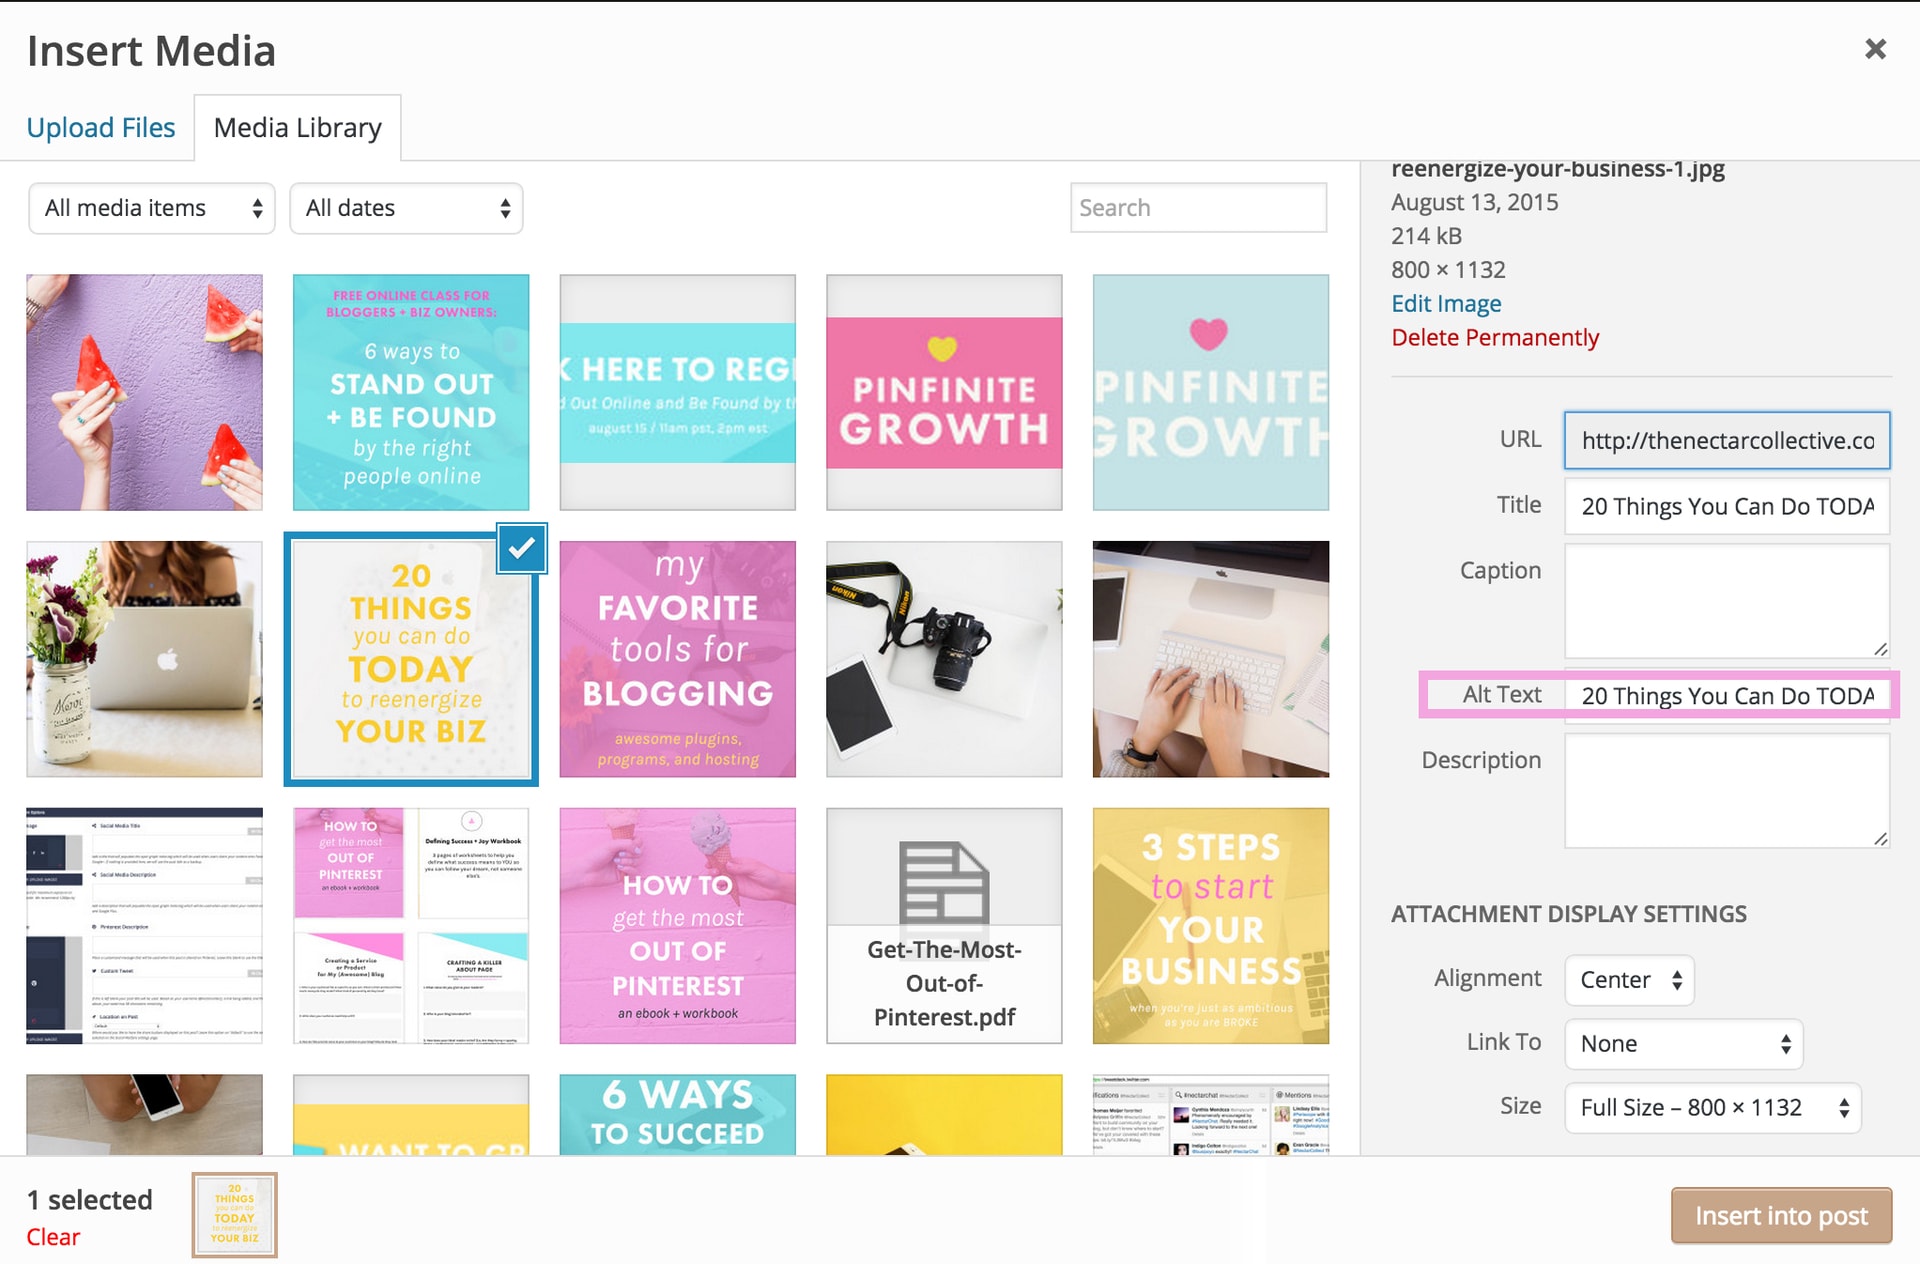
6. Add “alt text” to your images for one reason in particular:
That reason? For most themes, the alt text is what will automatically be added to the “description” when someone pins an image from your site. Descriptions are powerful on Pinterest, especially when you add keywords, persuasive text, and a call to action. Here’s the description I added to this blog post image’s “alt text”. You will see it pop up if you try to pin an image from this post.
17 Things You Should Do to Every Blog Post Before + After You Hit Publish | If you want to grow your blog, but you’re a little stumped on how to actually create high-quality blog posts or how to market your blog, then this post is for you! It includes 17 tips for bloggers, which will help your work be seen by more people — woohoo! Click through to check out all the tips.
And here’s how to add Alt text to your uploaded images in WordPress. Easy!
7. Add a featured image (on WordPress).
Featured images can be important for a number of reasons. They can be used in your blog’s layout in a variety of ways — for example, as the image that is automatically pulled to be used in a “recent posts” slider.
Also, if you use Bloglovin’, your post’s featured image is the image that appears with your post. Like Pinterest, vertical images with text on them tend to draw more attention to them when people are scrolling through Bloglovin’. For that reason, it’s a good idea to add a vertical image with text on it as your featured image if you want to gain more traffic from your Bloglovin’ followers. Why does this work? It makes your posts more visible when people are scrolling through their Bloglovin’ feed.
8. Make sure my post is SEO-tastic.
Search Engine Optimization (SEO) is an absolute must and should not be ignored, yo. With the right SEO, your blog and income have the opportunity to grow tremendously because it will drive search engine peeps to your website. If you’re on WordPress, I recommend downloading the Yoast SEO plugin (I talked about it here!). This plugin makes it easy to build excellent SEO.
Check out this post for some specific SEO tips. Also, if you subscribe to my weekly mailing list, you’ll get access to a library of free ebooks I’ve written — one of which contains my best SEO advice.
9. Proofread.
I know. You’re probably like duh Melyssa, I know I should proofread. You’re probably also going to find a mistake somewhere in this post and then think of me as some sort of village idiot who doesn’t follow her own advice. *grin* In any case, I highly recommend proofreading your posts several times before hitting publish. This may sound monotonous, but it’s not bad if you divide up your editing.
For example, I’ll write about half of a post, then save it as a draft and preview it. I then read through what I’ve written so far, both so that I can correct any errors and so that I can see how my writing flows as if I were someone who was reading this post. I probably do this three times before hitting publish, at various stages of writing. My friend, Regina, also suggests reading your post backwards, one sentence at a time, as that pulls your text out of the context of the post and will show you any blatant grammar or spelling mistakes.
After You Hit Publish:
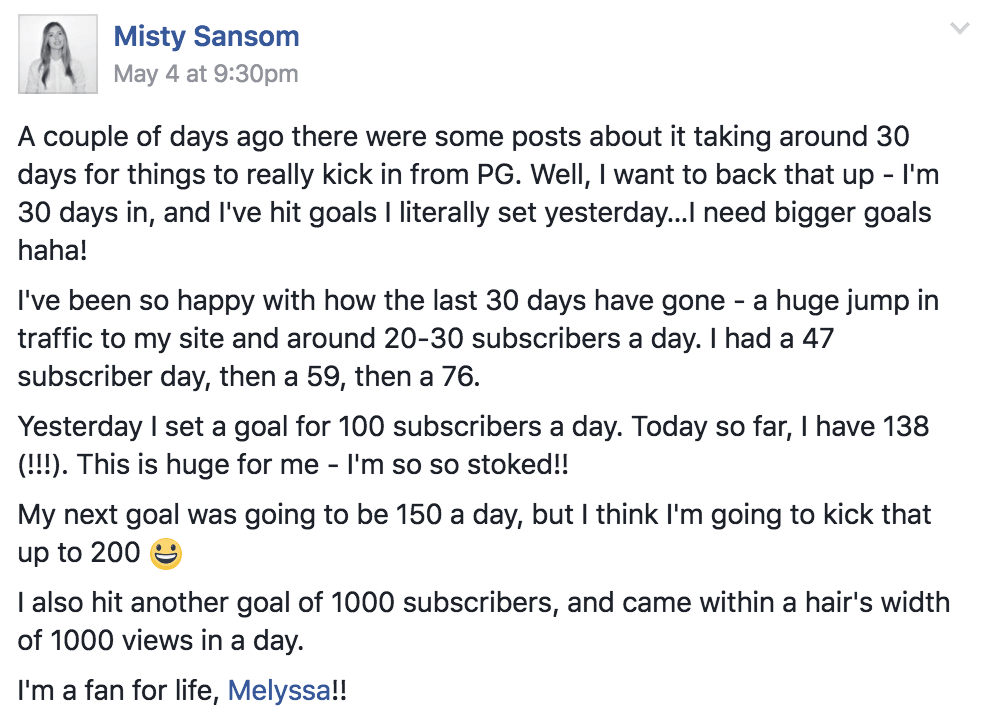
1. Pin your post image onto Pinterest.
Since you’ve already added your “alt text” for your images before inserting them into your post, the description is already written. #happydance. Now, all you have to do is pin your blog post image onto Pinterest. Easy, right?
I recommend creating a Pinterest board specifically for your blog, which only shares pins from your own posts. Pin your blog post images onto that board first. Then, over the next couple days, pin them onto other relevant boards with a medley of pins from your blog and from other sources. This will keep your pin in rotation and distribute it to different audiences (who may be following different boards).
If you want to get serious about refining and growing your blog by strategically using Pinterest, check out my e-course, Pinfinite Growth. Here’s what one student recently said in our private Facebook group for Pinfinite Growth peeps:
2. Schedule it to be pinned to any Pinterest group boards that are relevant.
Similarly, if you’re part of any group boards, you’ll want to share your pin to these boards as well. You can either do this manually, over the course of the next couple days, or you can use a scheduling program to schedule your pin to your group boards.
By the end of this step and the one above, your blog post image will be on about five different boards. This will give your image the chance to be seen by many audiences, especially if they missed your first pin. Also, don’t worry — because of Pinterest’s smart feed and the scheduling you’ll be doing, your followers will not see two of the same pin at once. Pinterest filters out pins that are the same so that only one version will appear in the feed at any given time. Thanks Pinterest!
3. Share your post on Facebook and Twitter.
I generally use a scheduling program (Edgar) to do this, but there are many other options as well. You could also do it manually. If you want to get fancy, you could create even an image specifically for your Facebook and Twitter posts. Tweets with images tend to perform better, so this is recommended. You can find all of the social media image sizes here.
4. Schedule your post for Twitter several more times.
The Twitter feed moves so quickly that it can be easy to miss a specific tweet, especially if you’re in a different time zone. For that reason, I’d recommend sharing your new blog post onto Twitter several times over the next few days. Social media scheduling programs work great for this. You can also use scheduling programs to schedule your post to be shared again in 3 or 6 months, allowing you to constantly circulate your older content.
Related: 5 Useful Programs for Scheduling Social Media
5. Do a Facebook Live or Instagram Live about your blog post topic.
Live video is totally a “thing.” Have you hopped on le bandwagon yet? Facebook and Instagram offer platforms where you can record yourself speaking live while your audience leaves comments as you’re talking. It’s a pretty awesome and fun way to connect with all of the bloggers and online peeps you’ve — until now — only seen in photos.
The neat thing about livestreaming is that it gives you a different medium to share your content. Some people dig reading blog posts. Others would prefer to watch them. So, after you publish your post, try doing a live video about your post’s topic. You already wrote the post, so your “script” is finished! Obviously, I don’t recommend just reading your post word for word, but share the main points of it and get people hyped to read the full post on your blog. This is an excellent way to repurpose older content, too.
6. Respond to comments.
If your post receives any comments, make an effort to respond to them, especially if people have questions or are extra thoughtful. Responding to comments is a great way to build a stronger readership, more engagement, and friendships with people who will come back because they feel valued.
7. Check the analytics of your post to see how much engagement it received.
At the beginning of a month, I’d recommend checking your Google Analytics account for the previous month so that you can see which posts received the most pageviews. While you’re at it, check to see which posts received the most comments, too.
These statistics can be very telling, as it shows how much engagement they received. You may begin to find patterns — oh, this topic is really popular! — and will know which types of posts your audience loves or doesn’t really care for. Use that info to craft an even more fabulous editorial calendar, you little game-changer, you.
8. In 1-2 months, repin your post onto Pinterest.
This is called “looping.” Basically, it’s the practice of repinning your old pins. A couple months after pinning your post image onto Pinterest, try repinning it onto your account. Once an image has been pinned, your followers will no longer see it unless someone else pins it. Looping fixes that problem by keeping your older content in constant rotation. I explain this strategy in detail in Pinfinite Growth.
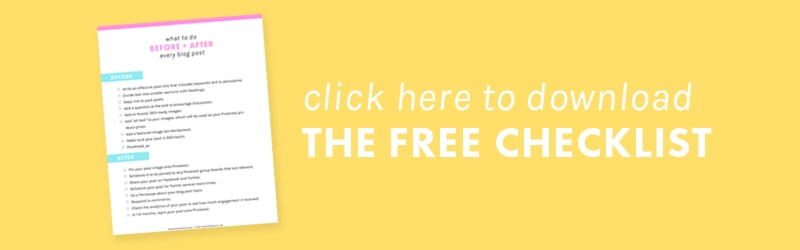
Phew! Thanks for hangin’ in there with me. As a parting gift, I put all of these points into a checklist that you can print out and refer to whenever you write a blog post. No email required, friend! You can download the checklist right here or by clicking the image above. Holla!


")