


")
")


If you read my post about 6 Ways To Save Money As A DIY Blogger, you probably know that I am all about saving cash monies when it comes to blogging. As much as I enjoy saving money, I also enjoy making my content and all my photos look beautiful (who doesn’t!?). It’s fun to make things look pretty, and it’s also great for branding yourself and your blog.
When I first started blogging, I snapped all of my blog photos on my parents’ very dark and very old kitchen table. I quickly learned that that wasn’t working for me, and I spent a few months playing around with different surfaces to photograph things on. I tried using wrapping paper as a backdrop for photos for quite some time. You know that episode in Friends where they share that Monica irons her wrapping paper so she can save it for later? Yeah. That was me. I also went through a very large pile of scrapbook paper. That was a really fun adventure. I’d constantly lose my colorful pages and/or forget about them and find them torn or in the most random places. Needless to say, my paper backdrops were just not working for me.
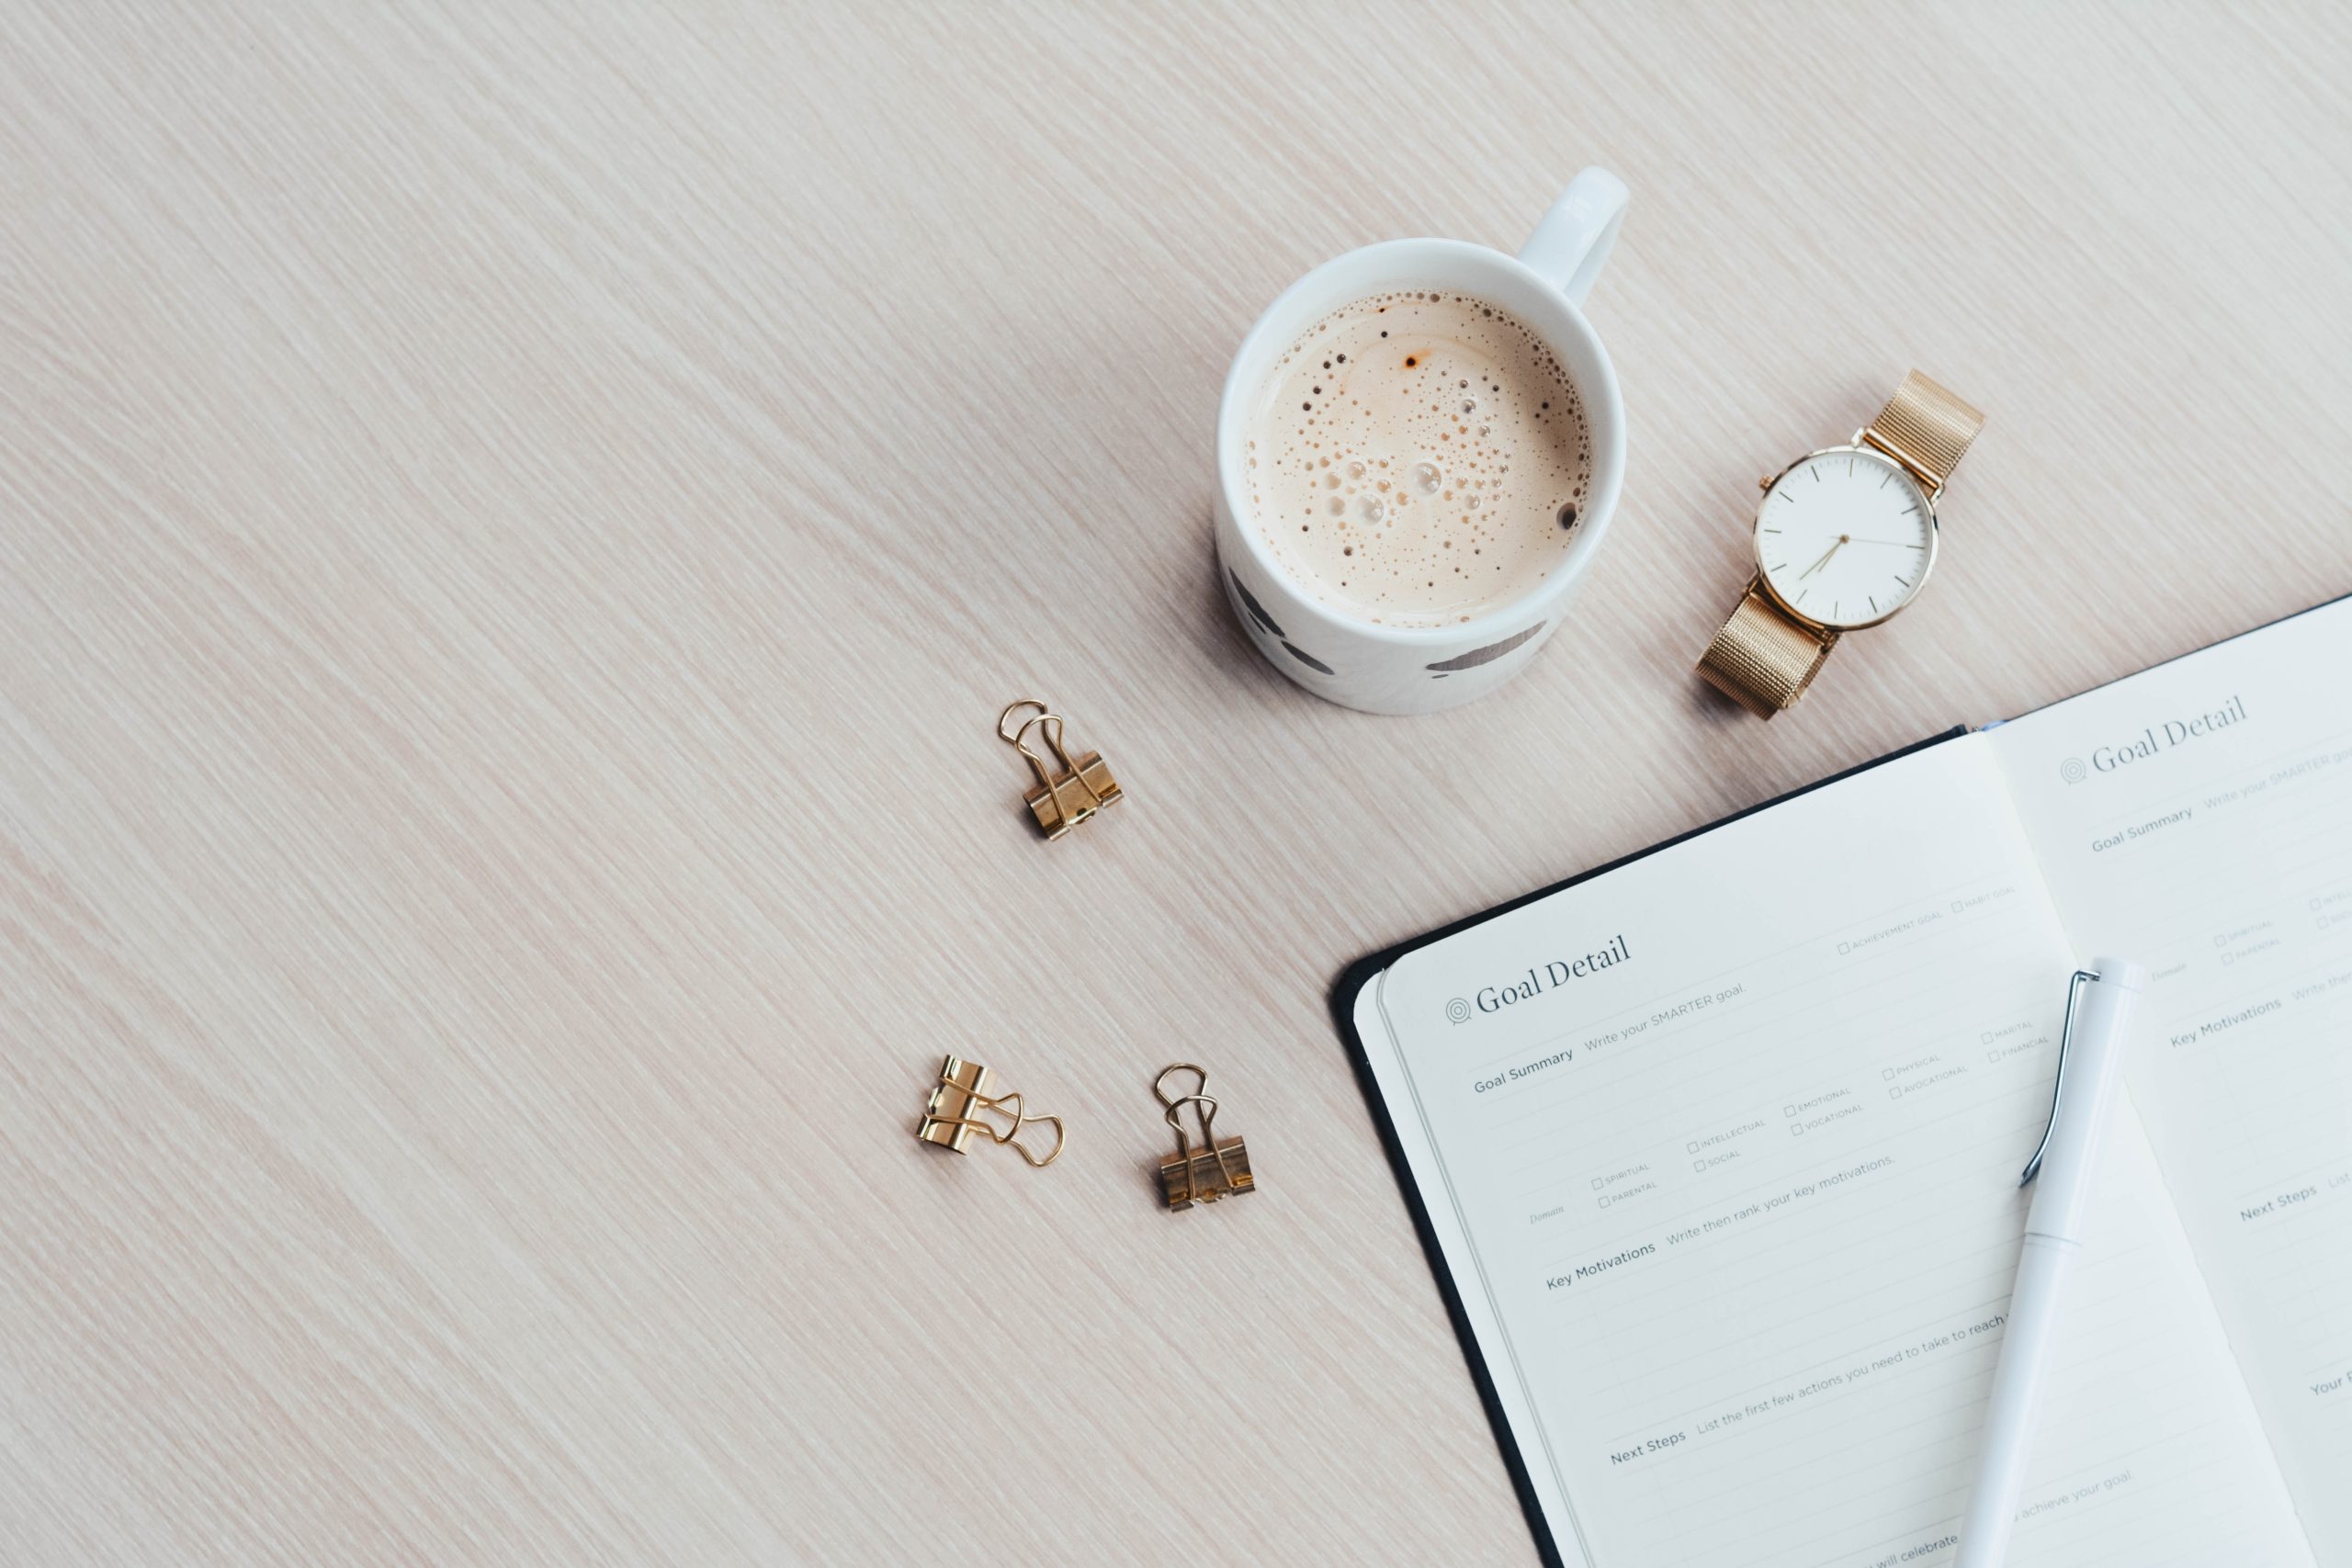
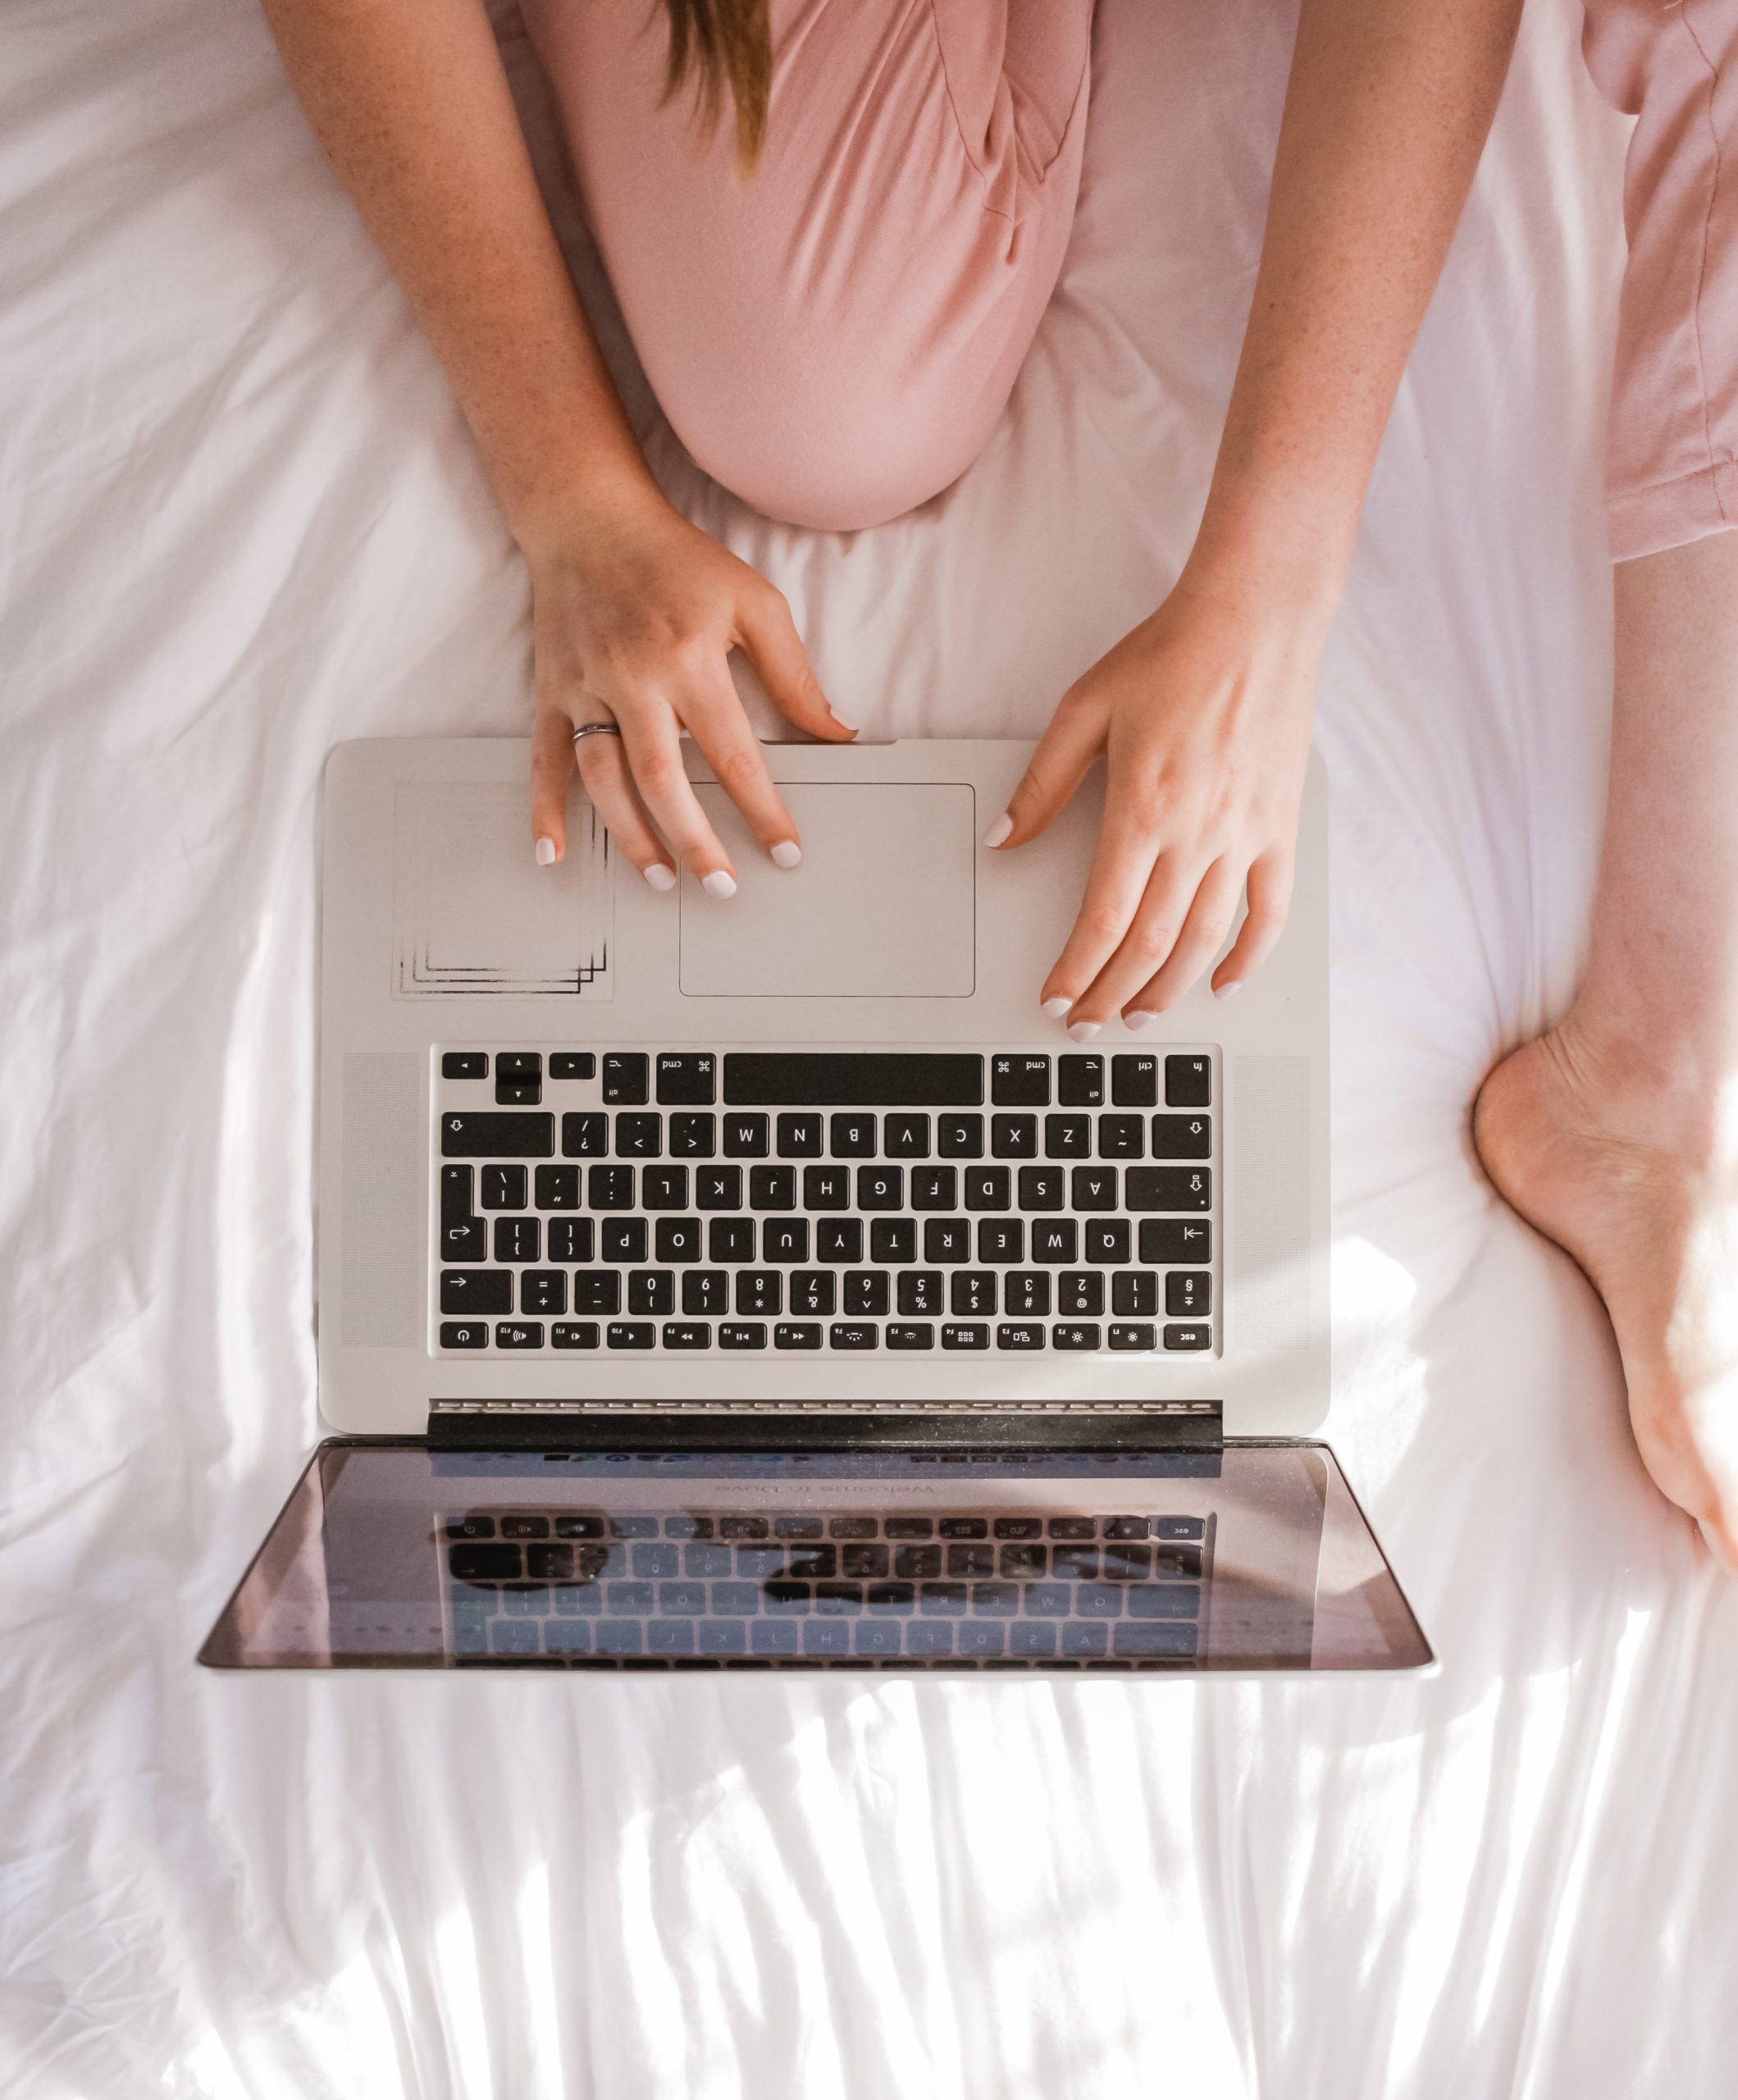
Finally, I decided I needed something a lot more durable and stable. I decided to make a colorful photo backdrop out of some pieces of wood. I can say without a doubt that taking my blog and Instagram photos is now 1000000 times easier! My photos are much sleeker, more uniformed, and it’s really eliminated the grunt work of figuring out how to make my posts look more presentable. Click through to learn how I do it!


These photos you just saw? You might think I have a nice white table at home. Plot twist: we don’t even own a kitchen or coffee table yet! #secrets
All you need to make your own blog photo backdrops are two pieces of wood and some paint. I bought my wood at Home Depot. Their customer service is seriously fantastic. I can’t say I fit in all that well at Home Depot, but the guy that helped me was super helpful, and he didn’t even laugh at me when I was flailing my arms in the air trying to explain to him exactly what I wanted. Anyway, get yourself to Home Depot and have them cut you some wood (their cutting service is free!), then decide what colors you want to use as a backdrop for your photos.
(Related: 11 Surefire Ways to Grow Your Instagram Following)
One side of mine is completely white because that’s what I use for most of my photos, and the backside is split into three different colors to give myself some options. My favorite part about this is that I can easily get more wood as the seasons change and use different colors later on. I spent about $25 in total on this project, which to me is totally worth it! The wood pieces are also really easy to tuck under my bed or behind my desk so they’re never in the way.


Easy, right? Really, the color combinations are endless, and you can customize this with colors you already use in your blog’s branding. I love being able to change things up when I need a burst of color and these wood panels are perfect for my blog photography.


What do you usually use as a backdrop for photos? Do you have any other time or money cutting tricks up your sleeve? I’d love to hear them!
p.s. Want more blogging advice? Read this.


")


Cool idea! I love the way you managed interchangeable colours!
I never thought about using wood but I like that idea a lot!
I purchased the thick white board paper. The kind that they use for science fairs. I purchased a few of those and made a big ‘light box’. It helped to add a lot of light but it wasn’t very easy to hide as I had a big box.
Thanks for sharing these fun tips.
This is such a good idea. I have been struggling with this. I could not think of anything to use for my background. Thank you so much.
http://www.tamarliel.com
Awesome idea! I try to craft my instagram feed so that it appears colorful so this is really helpful- thanks!
-Natalia
http://glitterandpassport.blogspot.com/
Awesome idea! Now I know what I’ll be doing this weekend…
I use 2×2 vinyl backdrops (purchased on Etsy). There’s all sorts of designs available, I like the wood ones. And once I’m done, I just roll them up 🙂
That’s also pretty cool… been wanting a wood finish one!
I never would have thought to paint one piece of wood so many different colors!! So easy, yet so effective. Thanks 🙂
this is amazing! you are so clever. i have always wondered how some people make their instagram pictures so pretty xx
http://www.vivreblog.com
What a great idea! I have been using backdrops from Etsy (which were expensive) and scrapbooking paper which doesn’t hold up very well.
I have never thought of this! Wow such a great idea I am going to give this ago! x
I love this idea! Those colours are just stunning, and it makes me eager to paint 🙂 thank you for the great tip!
This is a good idea! I tend to use scarves, random blankets lying around, white paper, the floor, a table, a door – whatever I feel like really! I have some wallpaper samples lying around somewhere that I’ll have to dig out soon and I might try out this one at some point as well! Penny xxx
Polka Dot Penny
Great idea! I usually use white printer paper if I really want a white background, but didn’t think of doing this – clever!
Jenny
<a href="http://www.fromthedeskofj.comfromthedeskofj.com
Such a genius idea that you can just turn it around to change the colour. Brilliant! Xx
Thank you for sharing this secret! I don’t even attempt pretty pictures on my own – but I am going to now. And, I just happen to work for a local lumber yard, so I can probably make these for under $20. yay!
You’re brilliant.
Oh my gosh this is genius. I’ve been struggling trying to get good pictures for my blog, but living in a dorm feels so limiting! I’ve considered grabbing a white foam board or something, but this seems so much more versatile!
Love it! What a great idea!!
Oh thank you… This post responds to many questions. Thank you for sharing these so useful ideas!
Never thought of painting boards and aligning them. That’s really fun! I usually just use bristol board, scarves or sometimes my living room curtains draped over the kitchen table (oh yeah, I don’t have a real kitchen, so the table is in the living room).
This is really lovely! I’m planning on making a distressed wood backdrop! x
Blog | A Girl with a Camera
Youtube | A Girl with a Camera
I just use white table and white wall. Love the pink background though!!! This is a really great tip. Thank you for sharing!! <3
This is so bloody clever! I get really sick of my same spaces, and this is a fab way to inject your brand colours into the mix… thanks for the share!
I’ve never thought about using wood before, but I like that idea! I think even using distressed wood would look good. I’ve been experimenting with poster board as of late. It actually gives a nice bright appearance. 🙂 Thanks for the tips!
I love this idea! Thanks for the tip! 😀
A seriously awesome idea. I love how the vibrant hue totally alters the photo. Cheap, easy, & versatile! :]
// ▲ itsCarmen.com ▲
Getting this done this weekend!!
Oh. My. God. Brilliant!
This is a genius idea!!!!
Omg…That’s genius! I’m so doing that. Off to Home Depot this weekend!
This amazing… and I love how you used the one piece with the three sections (who needs a whole plank of mint wood, just a nice Instagram shaped square will do).
This is really a great tip! I always take the pictures of my shoes against the white wall over a chair or a cardboard box now I think I’m going to work on something like this. thanks 🙂
http://diaryofashoeaholic.wordpress.com
Great tip! Love the final result too!
Great idea and so simple too!
I admit, I often resort to wrapping paper bacdrop – but since I have a ton of home-made storage boxes (wrapped in any cute wrapping paper I get my hands on), I don’t need to fight wrinkled paper – I just get an appropriately wrapped box and place it behind the object I want to photograph (like the one in the photo). It works for me, it might for you too – but hey, you have no need to go back to this, since you got yourself a lovely alternative 🙂 Aha, another suggestion: I had a piece of wood sewn and painted it in my fav green – I simply attached it on a piece of furniture (back of an Ikea Billy bookcase) that is standing in the middle of the room. It covers the entire back of the bookcase and looks pretty … Do you think you could use this idea too? Have a great day, Damjana
This is a great idea! What size of wood boards did you use?
What?! This is completely amazing. What kind of wood did you use and what size did you have them cut it to?
COOCOO FOR COCO
What an idea!!!!! I use paper normally, but this is going to happen!
xx,
E.
http://www.theslowpace.com
I love this idea!! I recently made myself a double sided wood background for my food photography, but I only have 1 piece so there’s no “backdrop” just a table. I might have to go back to my local depot and get some more!
OMG! This is brilliant! I didn’t even think to do this but I have to say, it seems much easier!
A great idea!!! I can’t believe I didn’t think about it 😮 I use fabric, but this seems better!
This is a great idea! BTW not sure if I said this already, but I love the look here!
Tiffany Ima
tiffanyima.com
So useful!
nastyadrama.ru
This is absolutely amazing! I currently use white poster board but sometimes white really doesn’t do the trick!
xx Kelly
Sparkles and Shoes
What a fabulous idea! 😉
great idea! I will definitely use it 🙂 Thank you!
This is fabulous! I need this in my life. XD
This is an amazing idea! Most of my photos are the tiled splashback in the kitchen, or the garage floor when working on the cars/bikes.
Ooh I’ve never thought of this – will try it, it’s very clever. x
ZoesSecretStyle.blogspot.co.il
I absolutely love this idea! Especially the back with the different colors it’s brilliant. I’ve used bed sheets but it was eh and lately been using my kitchen counter because it’s solid white …but I would like variety- thanks for the tips! 🙂
This is a wonderful idea!! Thanks for sharing! 🙂
OMG Thank you for sharing this. I always struggle with my pictures cuz of the background. This is a great idea and since I also do youtube, this is super helpful 🙂
So, this is pretty darn genius! I am always so amazed at all of the beautiful pictures you and so many other bloggers share, while I’m over here like “look at this object on my floor!” I think I will for sure be figuring out how to get some wood here locally, cut down, and get to painting it! So much classier than relying on my white kitchen counter under horrible lighting!
Simple yet brilliant. I was just thinking I needed to get a white desk to make everything look clean in photos, but I l don’t like white desk and I love my dark wood desk too much and then: hello answer!
Genius!!
britt-n.com
This is a great tip! I will certainly be trying this in the future.
This is really an amazing idea and really easy to do! So far I love to use our garden and all the greens and pebbles as my background. 🙂
http://www.annescribblesanddoodles.blogspot.com
I really needed this! NOW I get how everyone does it!
I use foam boards, but wood would be so much more durable!
What a great tip! I bought foam boards too and they’re working (for now), but they’re a bit small! I love the idea of sectioning it off with different colours! Definitely doing this!
Chrissy x
http://www.chrissylilly.com
That’s such genius!! Why didn’t I think of that? Duh…
Thanks so much, Melyssa! This is genius 🙂
Gosh… good idea!!!
♥
Amber
All the Cute
Today’s Post: Dotted Print & Gladiators
Wow brilliant idea 🙂
This is great info! Thanks!
This is GENIUS. I need to invest in this. I love people’s white backdrops and wonder how they have so much white space in their house! 🙂
This is a great idea! Thanks for sharing! If you don’t mind me asking..what photo editing software do you recommend?
I personally love Photoshop! 🙂
Super great post! Thanks so much for sharing! x
I also use paper backdrops and they always end up folded or dirty, wood is a much better substitute. Shared this on my facebook: https://www.facebook.com/CurlyMade
Wood is a great idea, right? I want to make some, too! And thanks for sharing, Daniela! 🙂
This is amazing! I wonder why I never thought of that before?? Guess I don’t have that much creativity in me. Hahaha. 🙂
haha I hadn’t thought of it either so don’t feel too bad! 😉
Oh my gosh how simple and brilliant! Thank you so much for sharing this. I’m curious how big those pieces of wood are. I would have no idea what size to ask for haha!
I’d recommend making each color at least 20×20 inches. That way, you have enough space to add props and style your photos. 🙂
Thanks Mel, that’s really helpful!
OMG I need to do this. I don’t know why I thought making different backgrounds would be so complicated…I was waiting until I had “more space” for photography, but you totally proved me wrong!
haha glad you like it, Amanda! Totally simple and do-able. 🙂
That is such a brilliant idea!! Thanks for sharing this. It’s hard to do when travelling, though.^^
Ahh definitely! Glad you like it though 🙂 Do you travel often?
I do! I am a travel blogger and have just finished a ful year of travel. Now I am trying to plan a trip to the US. 🙂
So awesome!
That’s such a good idea!! I’m always scrambling for things to put in the background of my posts. Thanks for the tip!
Haha same here, Jessie! 🙂
This is a genius idea! I bought two pieces of foam white board to prop up to take some of my instagram photos with! It seriously was a life saver. I can’t believe that I hadn’t done something like this sooner. I definitely want to try this with different colors though! Love it!
XOXO
Marie H.
Progression By Design
Foam is a great idea, too!!
This is seriously brilliant! Did you use a primer before painting your boards?
I can’t speak for Jess (the author), but priming them sounds like a great idea if you want to get the exact same color as is in the paint bottle! 🙂
Good point! Thanks 🙂
I’m in the floral wrapping paper stage and after reading this post, you know I’m heading in the painted wood-trick stage!
raisiespeaks.com
Both of those sound awesome! So creative, Raisa.
Such a great resource. I will have to try this. It will make taking jewelry photos so much easier. 🙂
It totally will, Felecia! Glad this helped. 🙂
I’ve used Colourful Cardboard. The big sheets you can get in crafty stores
That’s perfect! I use something similar, too. 🙂
I’ve been using those vinyl drawer liner thingies…lol, what are they called? Anyways, there’s lots of fun ones out there, currently I just have one, but I’m going to get some more for sure! This is a great idea if you have a good place to store the wood.
Great idea! I think you really nailed it with just “find something colorful to use as a backdrop.” I use something similar, too!
This is a fantastic idea! I’ve been struggling with how to do this around my house too. We have a marbled laminex kitchen bench that is almost white and I can sometime drop out the marbling with a filter but I love this idea more as I can get it in the right spot for the natural light. I just want to keep reading this amazing blog – so many great ideas 🙂
We are so glad to help, Richelle! 🙂 A marbled background sounds beautiful, too!
This is cute though wood is not an easily available background material for me… 🙁 I typically use my white cardstock/drawing block (a large sheet) as a white background, and for my texture I use my white bath towels, hah! I’m lucky to have a marble floor in my house too, so it gives a nice classy look to certain photos.
Those all sound like awesome, creative ideas, Roxanne! Love the marble floor idea, too.
Although I do not use it for my instagram, I recently made my own light box using a box, long white printer paper, this white material as a diffuser after cutting out side panels of box, and just used two lamp sources on either side of the box to make the objects photographed within pop. It’s late. I’m not sure that makes sense without a photo…
Makes total sense! Sounds like a genius idea. Have you found an improvement in your photos?
I did. With the filtered light on each side of the box, the items appeared like professional ones with a white background and no shadows. The camera (both professional canon and iPhone) focuses on the item and gives it an amazing HD pop without any editing. Great for placing things on sale in your own website, etsy, and eBay. 🙂
Such an awesome idea. I have been struggling to take my own pics and have just kind of “given up” and went to creating pics on canva or picmonkey…but this will be so much better for things I actually NEED to take pics of.
Awesome Hayli! Glad it helped. 🙂
Such a fab idea! So simple too, I struggle to make my photos stand out, think I need to give this a go! I have a spare bit of wood in the cupboard so will dig it out and paint it! 🙂
Alison At Home!
Awesome! Let us know how it goes. 🙂
everything got easier once i bought white foam board! then i went crazy and bought marble contact paper so i could fake a white table OR marble countertops #nuts
You, my friend, are a genius! That sounds perfect!
Yes! The foam white board is my favorite 🙂
you can’t imagine how thankful I am right now!!I always find it really difficult to take good images because of the backround but now you gave me the best idea!!thank you sooo much <3 <3
xx,https://letsjusttalkabouteverything.wordpress.com/
Oh this is so brilliant! I’m getting tons of wonderful ideas from you! Thanks!!!
YAY! Love hearing that, Sarah. 🙂
” I snapped all of my blog photos on my parents’ very dark and very old kitchen table…” Oh..that’s so me right now… 😀 and going around the house with my camera on looking for backgrounds like a crazy person… One word – tiles.
Great post.
haha I totally know that feeling, too! 🙂
This is such a cool board! Thanks for the idea!
– Kaitlyn | http://www.TheCrownFox.com
Woohoo! Glad you dig it, Kaitlyn. 🙂
I had gone through
it thoroughly its really worth to spent time on it and i really got to know a
lot more from it .
Air Bra | Body Buildo
super helpful tips and visuals…love your humor sprinkled throughout…how relatable. Thanks bunches…truly. becca-wearlovenow
Thanks Becca! Glad you enjoyed this. 🙂
I need to do this. Pinned & shared. Hope to make some myself soon.
Woohoo! Thank you so much for sharing it. I really appreciate that. 🙂
I really need to do this – fantastic idea as I don’t have a lot of money to actually buy fancy things!
I’m going to need this. Been looking for a way to make nice backdrop. Thank you for your great tips
http://joliecious.blogspot.com/
Great idea! I always have such a hard time finding bright clean surfaces to take my blog pictures on and end up using white paper haha, but I love the idea of buying wood and painting that!
http://writtenbymexoxo.blogspot.co.uk
I have a lot of sketchbooks so I open them up and prop one side against a wall – instant white background all around. This is so great to get colourful and patterned backgrounds!
Awesome idea, Hannah!
That is an ingenious idea! I’m going to DIY my own for sure!- x
Lavinya Royes – Fashion & Lifestyle Blog
Awesome, Lavinya! 🙂
This is exactly what I do! Cheap, easy and effective. Thanks for sharing!!
Awesome! Love that background — super cute!
What type of paint did you use? I love the colors.
Acrylic. 🙂
Hi Melyssa, this is a great idea with such nice colors! It’ll definitely make myself one. Or maybe two or three, fro more color combination! 🙂
You can see my solution for a “table” and backdrop here (translation button in the sidebar): http://www.miss-red-fox.de/2015/04/diy-vintage-foto-hintergrund-basteln.html
This is quite a neat trick! Shall definitely be making my own version in a day or two! have been wondering how to be cost effective and bring professional shoots like effects to my insta feed, and there you go, viola! Thanks Melyssa!! 🙂
You bet, Faran! 🙂
I use a big sheet of white paper pegged to a cardboard box. Works a treat!
Great idea, Jo! 🙂
What a great idea – thanks so much for sharing Jess, I love it!
Glad you found this helpful, Susan!!
Thank You, Thank You for just putting this so plain and simple in a blog post. It really is such a simple easy idea but never came to mind so Thank You! I’ve had such messy, dark backdrops so I am literally sending thanks your way as I am going to try this tomorrow! Charl x
Rose above the Thorns
I’m so happy you found this post helpful, Charlotte!! Thank you for the support and enthusiasm!
Love!! What are the measurements of the wood board?
Glad you enjoyed, Marva! The boards are approximately 2.5 feet by 2.5 feet 🙂
THIS IS AMAZING!! Need to do this right now.
I’m so glad you enjoyed this, Kelly! 🙂
Love this idea! so smart. Your blog is so useful. Need to check it everyday. Following you right now 🙂
> http://colourful1ife.blogspot.com <
I’m so glad you found this helpful!
awesome…when i have done some of my own will definitely share it with you.. ^^ Thank you
Thank you!!! I just went and bought me some plywood to make make my backboards and let me tell you! I feel so empowered!! I went in Lowes’s and acted like I knew what I was doing all thanks to you!!!!
Empowered Lowes trip for the win!! That’s awesome Robin 🙂
I also went to Home Depot and had a 4×8 sheet of contractors insulation cut in half. These sheets are very light weight and easy to transport. I cover them with fabric, wrapping paper, curtains and attach with push pins or thumb tacks. Bulletin board paper works also but it’s just a pain to roll and unroll.
Oh, I love this idea. 🙂 Thank you for sharing Sandra!
ha! that is an awesome idea.. def gonna use this for my photos.. coolness.. thanks for the awesome tip!!
Get to it and I hope you have fun! 🙂
I have a tri fold craft board ( that kids use for school projects and a piece of Plastic. For Colour I use bristol board or felt, very economical but not as pretty a texture as painted wood. This is amazing.
That’ll be perfect Linda!
Love this (and Home Depot)! I have a food blog and have become obsessed with creating faux tabletops (I currently have 5!). Plus, DIY light boxes, trifolds, and fabrics. I also found an old wooden wine case at Goodwill that I’ll be using shortly. It’s a lot cheaper than buying tables, slate and marble slabs (the latter of which I do own), etc…
That’s so brilliant! Thrifting is so good to find backgrounds. 🙂
Love this idea! Time to find out where do I buy wood boards here… I’m kinda curious though — what do you put these boards on? I mostly take flatlay style, so I probably only need one board, but I shoot in my teeny tiny balcony (the only place with decently lighting) and the floor is not an option — plants, soil, etc.
Would some kind of table work to put out on your balcony?
Possibly if I can find a small enough one. Thanks Melyssa! 😀 No idea why I didn’t think of it.
You can just buy a cheap sheet to lay under the wood as a middle man between it and the dirt! 😉 I do this to take photos on a *disgusting* fire escape hahaha.
I use foam core – it’s lightweight, comes in a ton of colors, and when it gets too dirty, I just get a new piece. The only drawback with foam core I have found is that it is not totally solid, so if you’re shooting a heavy piece on it (or trip and accidentally pierce it with a fork :-)), you end up with permanent marks.
Oh that’s a great idea! Thanks so much for sharing with us, Cattie 🙂
Hi Melyssa, I’m wondering what you used for the bright yellow background on your opt-in on the front page of your website. It looks a little bigger than the wood that you used here. I love it!
Hi Katei! That opt-in was custom developed by a friend but you can have a similar effect using the Magic Action Box plug-in. Good luck 🙂
I’ve been always curious about this. I like this method and I will try to use it in the future for sure.
That’s so great to hear! Best of luck my friend 🙂
Such a clever idea! I’m definitely doing this!
Awesome! I hope it goes well for you, Cheska 🙂
What kind of paint did you use? Is it just plywood? I love this!
I used a brand called Craft Smart but you should be able to use any standard paint you prefer. And yep, just plywood! Good luck! 🙂
This is so helpful as I have been using white paper for mine and found it was not working very well! Thanks for sharing!
Woohoo! So glad you liked this post! Good luck, Jennifer 😀
Such a great idea!
Yay! Good luck, Ashley! 😀
This really blowed my mind! I was expecting some colorful papers.
Good luck trying this out, Bibi! I hope it goes well for you. 😀
The flowers are so beautiful! How big was your board?
Hey Vanessa! The boards are approximately 2.5’x2.5′.
Never would have I guessed that!! Amazing. Jotting all of these amazing ideas down.
-Katie
http://www.katieskronicles.org
Awesome! Please keep me posted on your progress, Katie. 🙂
and there I thought putting the subject right in the middle of the frame is a bad idea. but I guess that’s just a myth. I’d definitely keep this tip handy! Thank you!!
I’m so glad this was helpful for you! Best of luck! 🙂
thank you!^^
Hi there! What are sizes of wood you use?
Hi Joshua, I feel like it depends based on what you’re planning to photograph, but if it’s small objects, you can probably get away with a 3’x4′ slab 🙂
Can you recommend a light box that works well for food photography? Thanks!
Hi Corrine! 🙂 I haven’t personally experimented with food photography before, so I’m not sure if the lighting needs are different, but I love my Diva Ring Light, and my LinoStudio studio lights. 🙂 I purchased both on Amazon.
Thanks for the quick response Melyssa! One of my goals for the new year is to improve my food photography.