

")
")

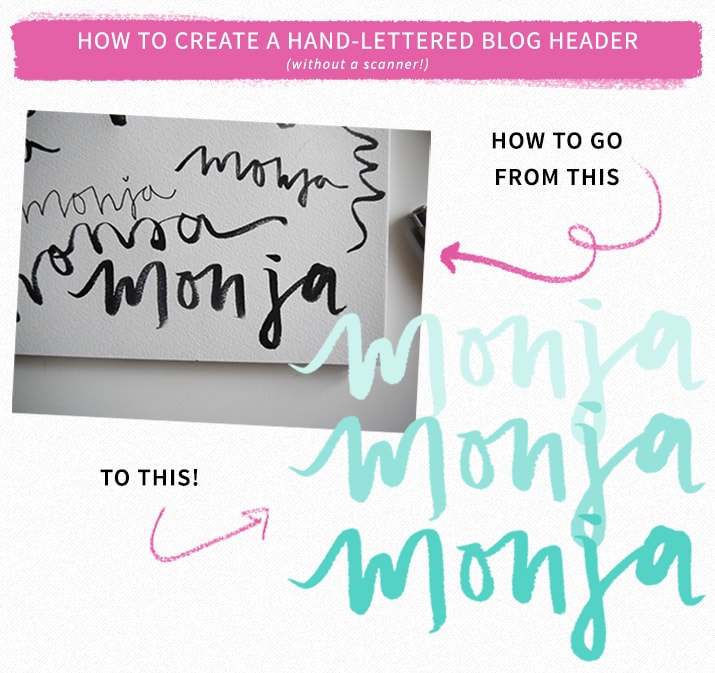
You all were SUPER into the last Photoshop tutorial, so I’m excited to share a new one that was requested several times: how to digitize your hand lettering. Calligraphy is HUGE these days and adding handwritten elements to a blog design gives it a personal and unique touch. A lot of people think you need a scanner and crazy design skillz to master this technique, but there’s actually a really easy way to take your hand-lettering to a digital format. This tutorial is excellent for creating blog headers (kind of like my own logo!), signatures, or any graphics that you’ll use on your blog. The best part? All you need is your phone and Photoshop. Let’s get started!
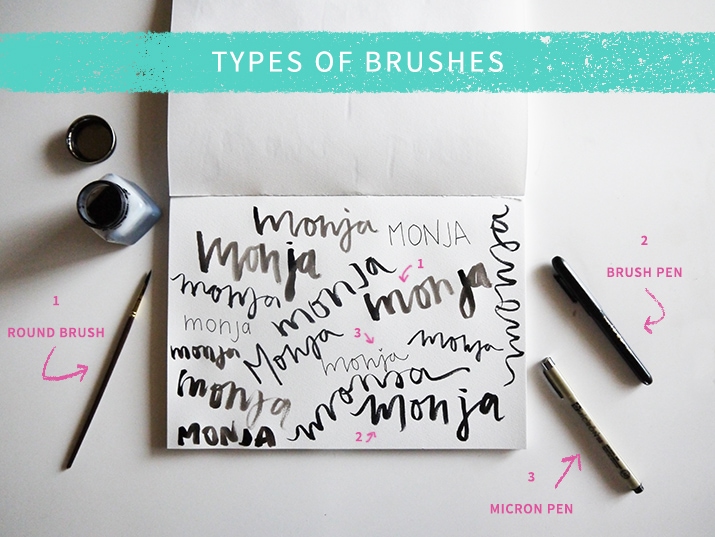
First of all, I wanted to show you the difference between a few types of brushes and pens I like to use: round brushes (like these), brush pens (like these), and Micron pens (like these). They’re labeled in my doodles below, so you can see the effect they each create! Oh, and if you’re wondering what the heck that word I scribbled is, it’s my dog’s name, Monja (moan-juh). 🙂
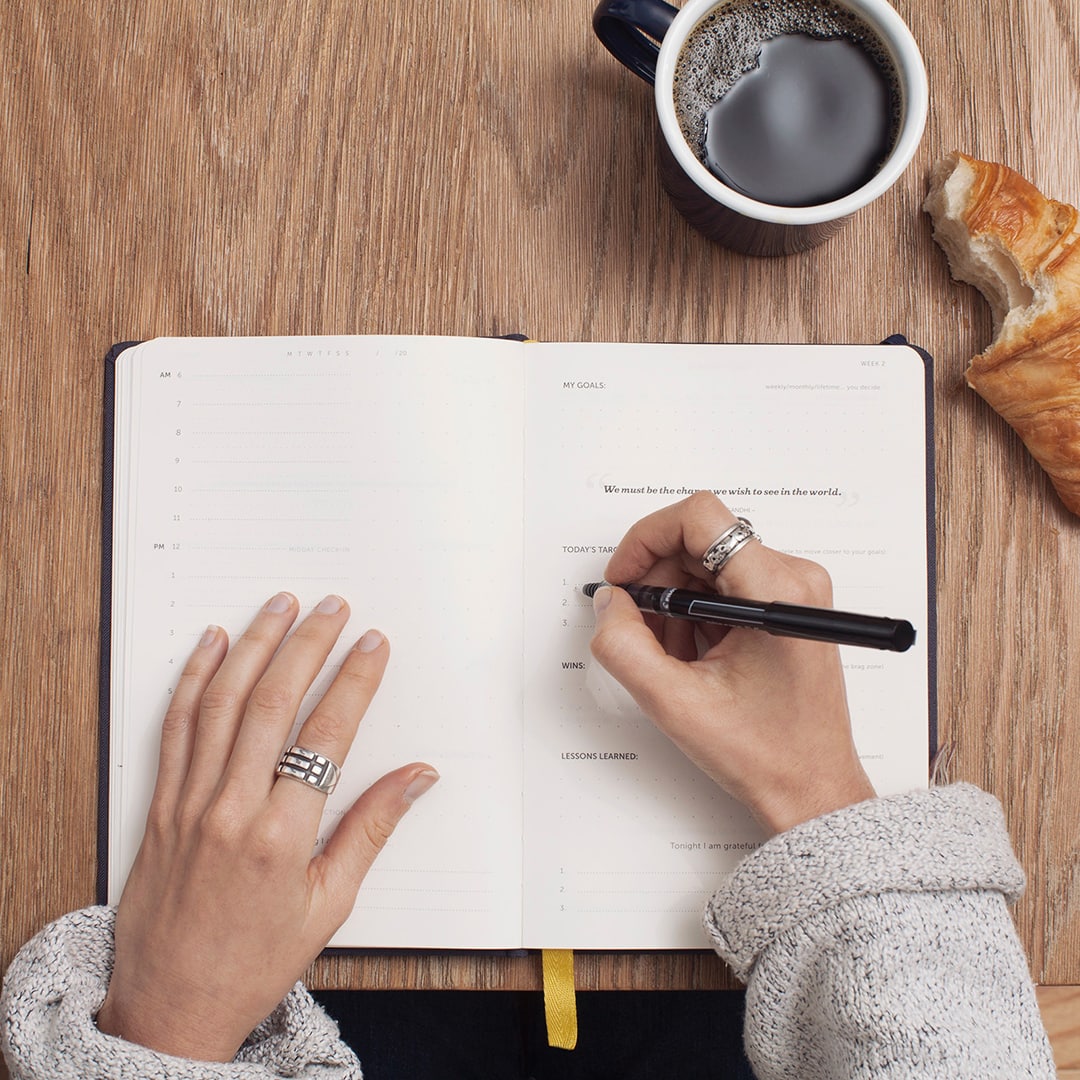
To start, I recommend writing out your word or phrase several times, until you create a version you love. Then, you can use your phone or any camera to snap a close-up photo of your lettering. I use my iPhone for this and then email the photo to myself, so it’s easy to open on my computer right away.
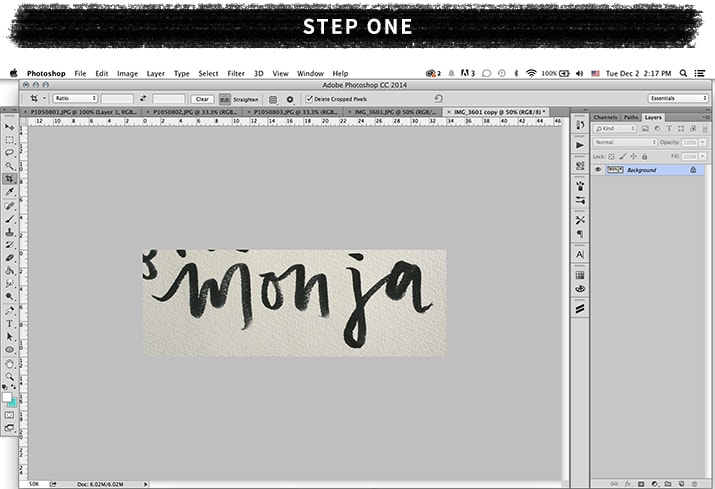
Open your image in Photoshop. I’m using Photoshop CC, but any version should work. I cropped my photo so that most of the excess is cut out of my image. On the right hand side, you’ll see your layers. Click the little lock on the layer that says “Background” so that the lock disappears.
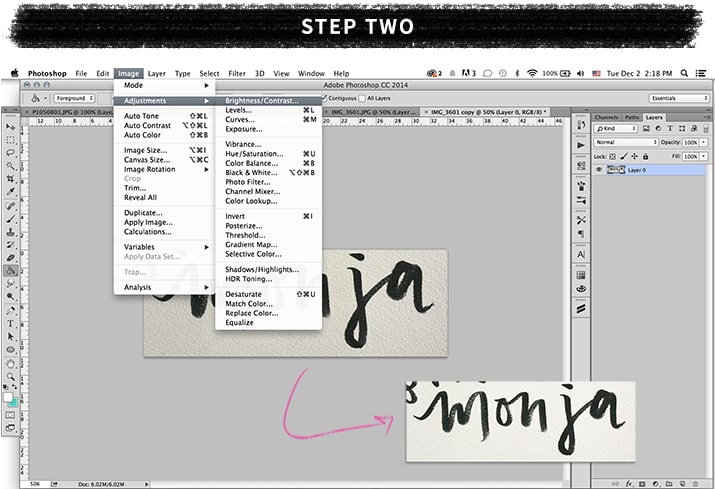
Go to Image (at the top) >> Adjustments >> Brightness/Contrast. Adjust the brightness and contrast so that the background becomes a bright white and the text is darkened. Increasing these too much will wash out your text, which you don’t want. You’re going for something like what I created above. You’ll notice the white-ish background of my image has a texture to it. This is the texture of the paper I used. Don’t worry — we’ll be deleting this background in the next step, so it will disappear.
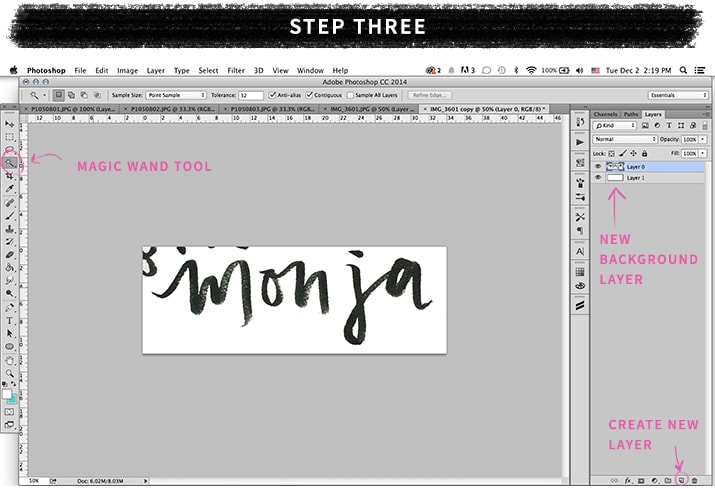
Now, we’re going to delete the background of the paper! First, I recommend creating a new layer underneath your lettering (click the button to the left of the trash can in the bottom right corner) and then using the Paint Bucket Tool to make it white, though any color would work if you have something else in mind. The only reason I do this is to make it easier for me to see which part of the background I’ve deleted and what still needs to be deleted.
Once you’ve done that, make sure your hand-lettered layer is selected in your layers section. Then, use the Magic Wand Tool (on the left) and select the white paper background of your image. There should be a dotted blinking line surrounding your text. Press the “delete” button to get rid of it. Do this for any other white areas. For example, I highlighted the inner part of the O, J, and A in my example above, and then deleted it.
If your image is like mine, and has some excess junk around the edges (like that area in the top left corner), then you can use the Eraser Tool to erase it. Now, you can clean up your lettering if you’d like. I like my lettering to look a little rough and imperfect, but sometimes I’ll use the eraser tool to soften some imperfections. Totally up to you!
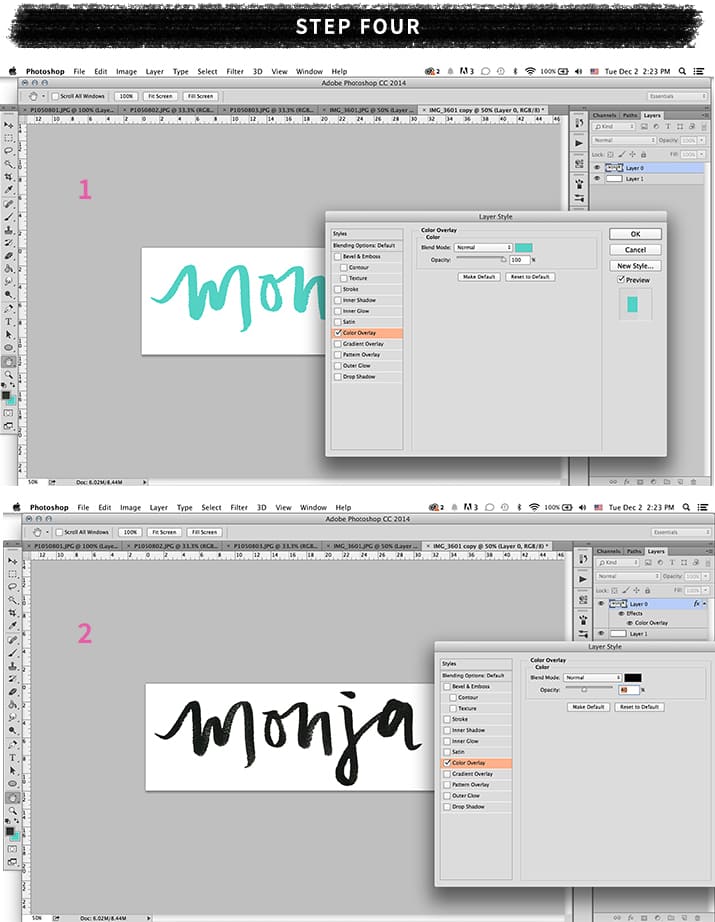
Now, the fun part! There are two easy options to shake up your lettering. The first is to bathe it in color. Double click on your lettering layer in the Layers panel. A box will pop up. Click “Color Overlay” on the left. Click the colored box and then select any color you desire (I chose green!). Press “OK.” Now your lettering is colorful! Alternatively, If you want to stick with black, but would prefer to darken it a bit, you can use black as your color and then decrease the “Opacity” in the “Color Overlay” section. In the image above, my opacity is at 40%. I like this, because you can still see the color variation from the brush I used, but the colors are more saturated.
Another idea? Use my Clipping Mask Tutorial to give your lettering a pattern or something funky!
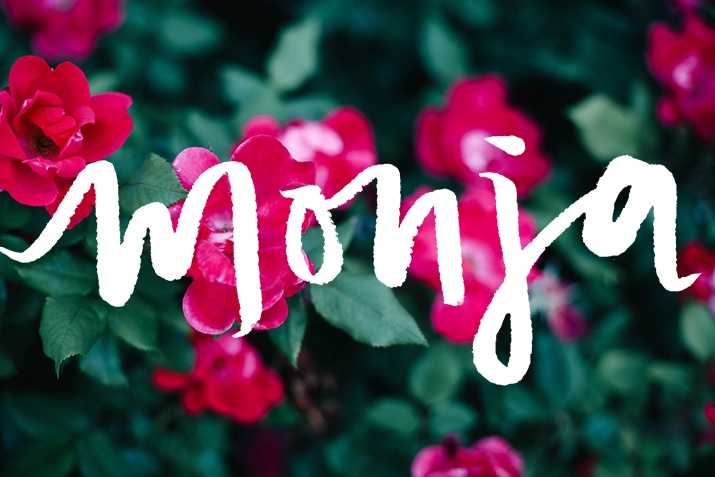
Now, you can save your image (for web) and use it as a blog header, a graphic in a blog post, or anything you want, really! You can even overlay your word onto a photo (as seen above) by dragging your lettering layer onto a photo.
You can see a couple examples of how I used this tutorial here and here.
That’s a wrap, friends! If you have any questions, I’d love to answer them in the comments section. If there are any other design tutorials you’d like me to cover, please leave a comment! I did this tutorial because you all requested it, so I definitely take your suggestions into consideration. 🙂 And if you use this to create something, I’d be honored to see it. Have a lovely day, everyone!
Some supplies I recommend: this brush pen, a round brush in this size, this ink, these pens for thin lines, and a tablet for cleaning up the edges of your lettering.


")